
So Facebook has allowed adding 360 photos directly to posts for several years now. With the resurgence in interest of 360 imagery, I thought I would put together a few tips for sharing your 360 photos to Facebook.
Post It
Facebook only recognizes 360 photos if it is added directly to a post. I really thought this limitation would eventually disappear, but it is still there. You cannot create a gallery of 360 images to share. The images will look like flat equilateral images without the 360 icon and spherical representation. So remember to add your 360 photo directly to your post.
Resize It
The maximum resolution for your panos is 3000px by 6000px. If you upload anything larger, Facebook will reduce the size of the file. Facebook does not do a very good job in my opinion when it smushes photos. I recommend resizing your image outside of Facebook before you upload it. You can use Lightroom or Photoshop to resize your pano.
Rotate It
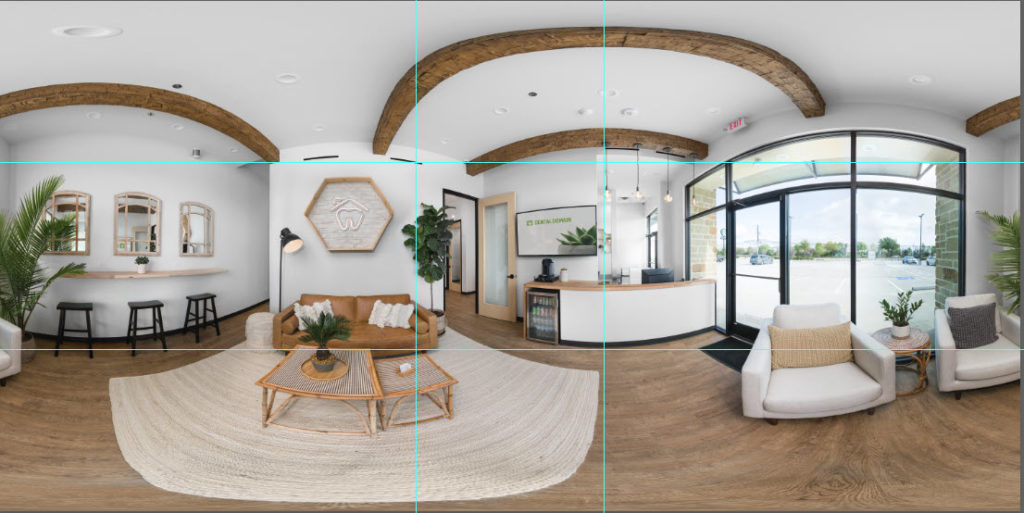
Once Facebook recognizes your 360 photo, it only shows the 1100x1100px in the middle of you pano. You can control what shows in your Facebook feed by adjusting it in Photoshop before you upload. Here are the steps for getting your image ready for Facebook.
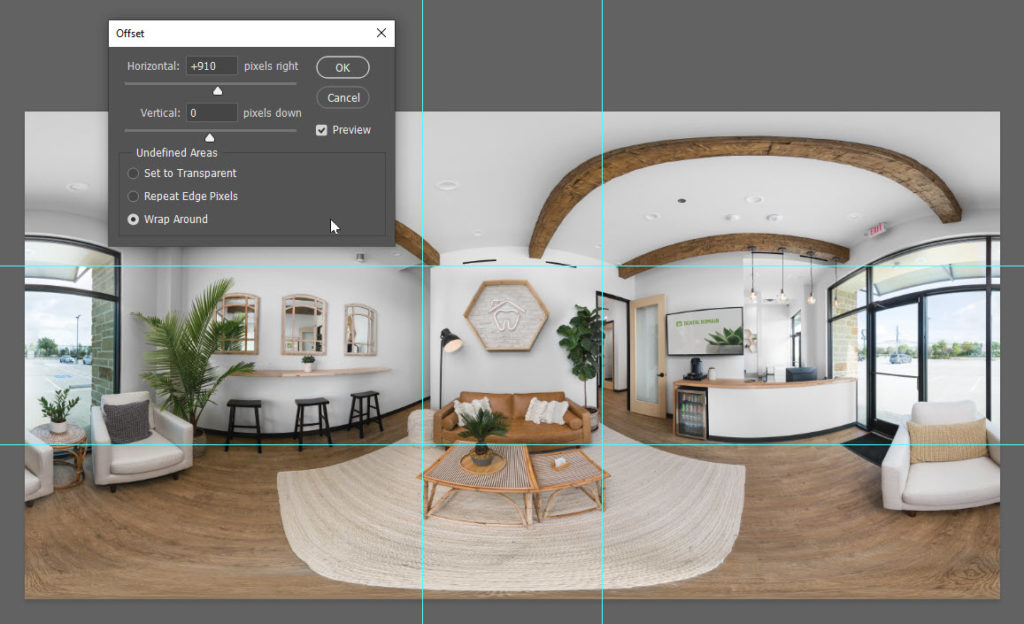
- First resize your file in Photoshop to 3000px by 6000px,
- Add 2 horizontal guides at 960px and 2050 px, and
- Add 2 vertical guides at 2450px and 3550px.
- Look at the box in the middle of your pano. This is what will show in your Facebook feed. Rarely, this is the best part of your pano.
- Click on Filter>Other>Offset, and adjust the horizontal shift until you get what you want in the box.
- Save your pano file as a Facebook version.
I have an action in Photoshop that resizes and adds the guides to quickly create my Facebook panos.
Brand It
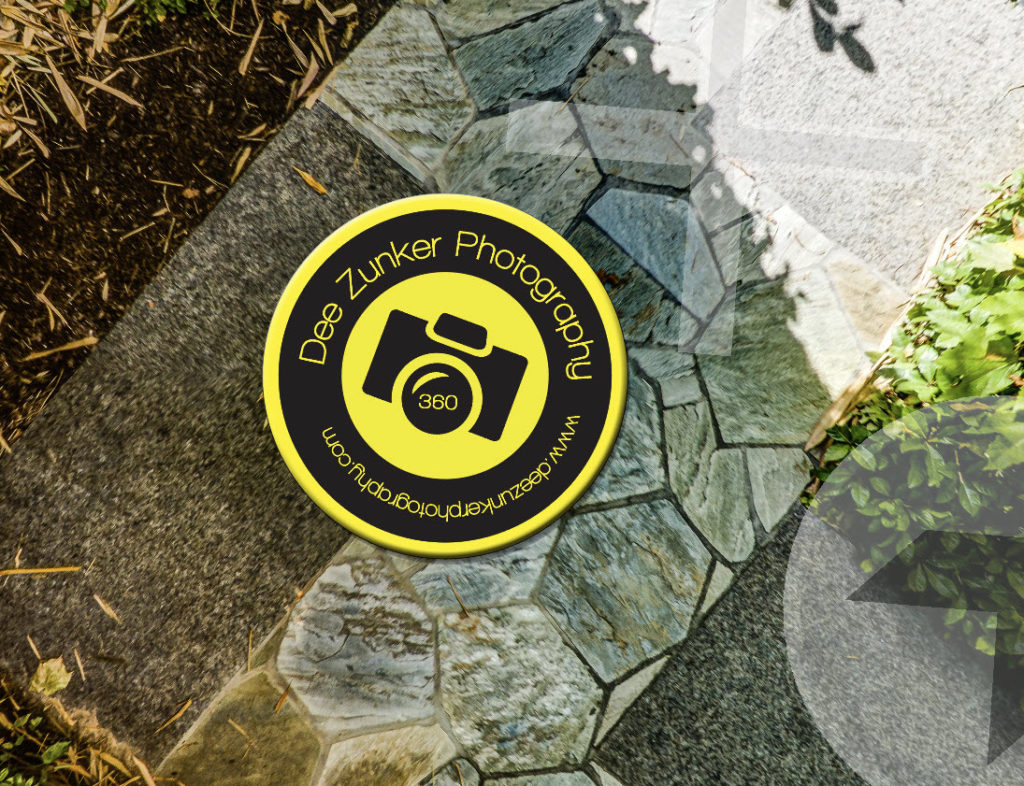
Once you upload a pano to Facebook, anyone can download it. I recommend adding your logo, so you can maintain some branding or ownership in case the image gets misplaced. The best place is to put your logo in the nadir, or the bottom on the pano. You can also add it anywhere in the pano, but it will tend to be distorted unless you do it within the 360 environment. I will cover removing your tripod, and adding a logo in another post. Here is one of my nadir patches I use for branding.
So are you creating a lot of 360 imagery? Do you get good feedback from Facebook posts? I am always interested in other people’s experience.